Ultimate Salted Caramel Fudge Brownie Trifle
Ultimate Salted Caramel Fudge Brownie Trifle
Ultimate Salted Caramel Fudge Brownie Trifle
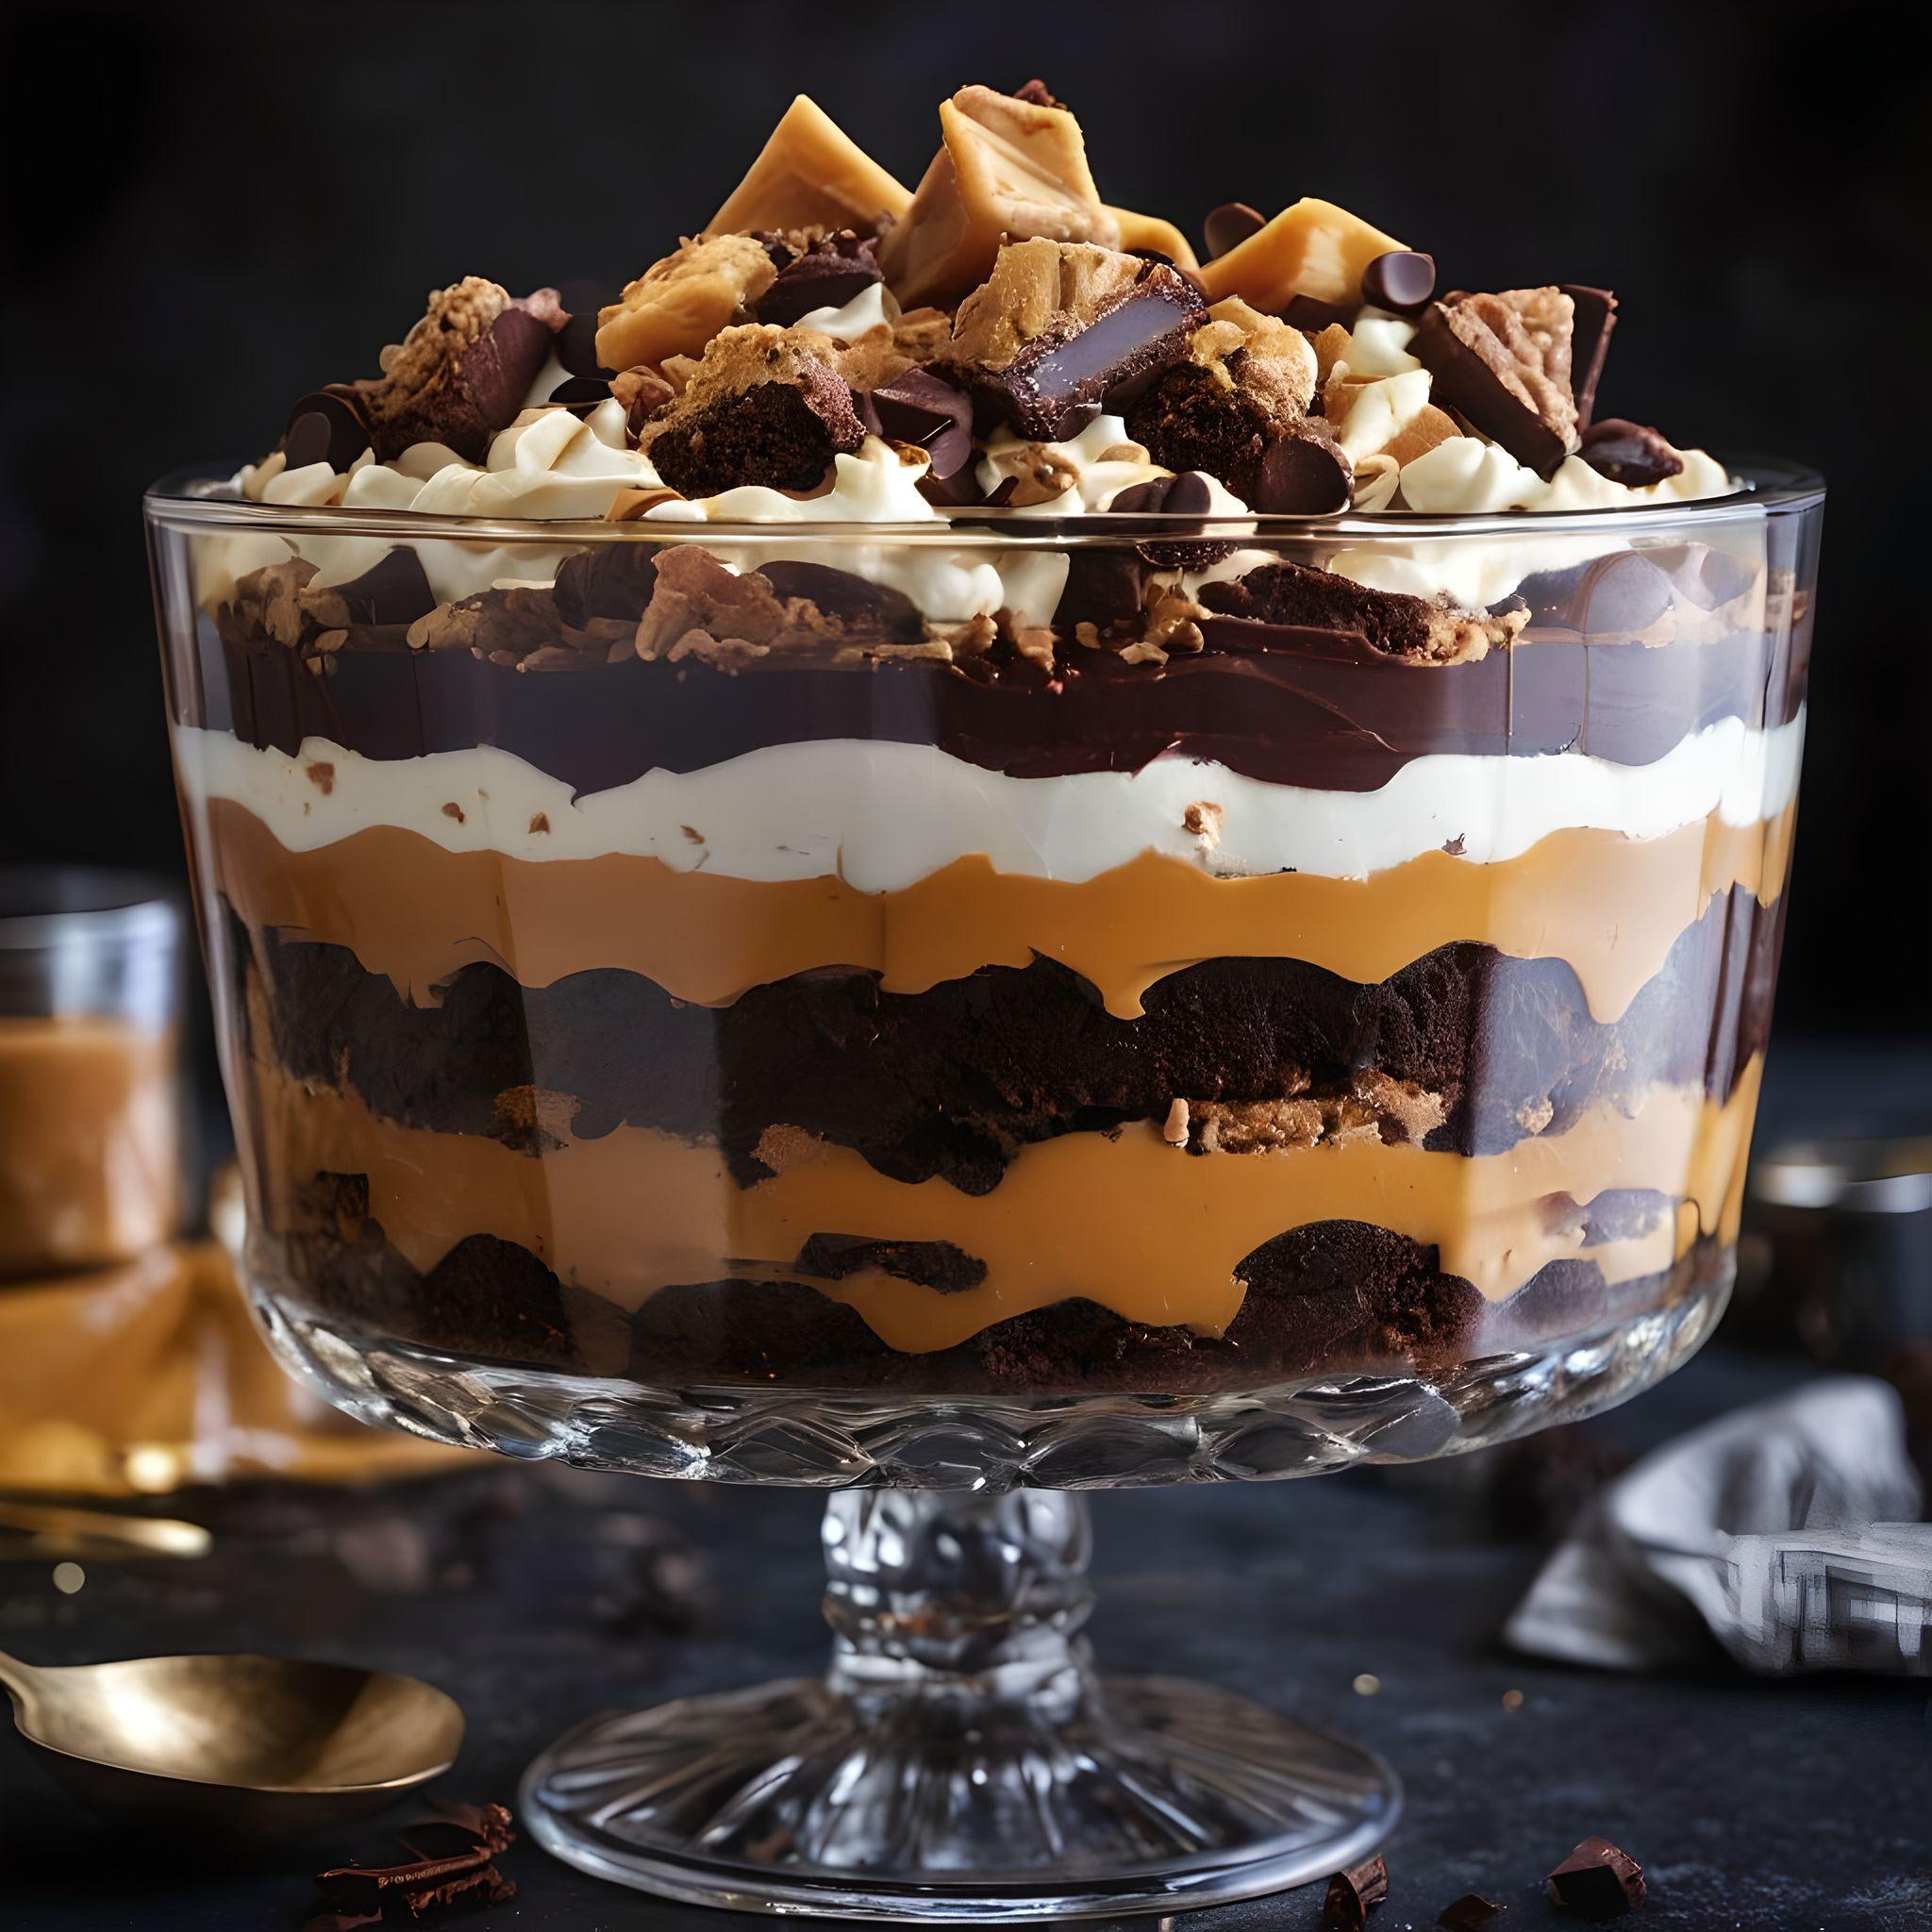
This recipe yields a large trifle, perfect for serving 10-12 people. Use a clear glass trifle bowl (around 3-quart capacity) to show off those gorgeous layers!
Yields: 10-12 servings
Prep time: 1 hour (plus cooling time for components)
Assembly time: 20 minutes
Chill time: At least 4 hours, preferably overnight
Ingredients:
For the Fudge Brownies:
-
1 cup (2 sticks or 226g) unsalted butter
-
4 oz (113g) unsweetened chocolate, chopped
-
2 cups (400g) granulated sugar
-
4 large eggs, room temperature
-
1 teaspoon vanilla extract
-
1 cup (125g) all-purpose flour
-
½ teaspoon baking powder
-
¼ teaspoon salt
-
Optional: 1 cup chocolate chips
For the Salted Caramel Sauce:
-
1 cup (200g) granulated sugar
-
¼ cup (60ml) water
-
½ cup (1 stick or 113g) unsalted butter, cut into cubes
-
½ cup (120ml) heavy cream, room temperature or slightly warmed
-
1 teaspoon flaky sea salt (like Maldon), or more to taste
For the Vanilla Pastry Cream (or use 2 large boxes Instant Vanilla Pudding prepared thick):
-
2 cups (480ml) whole milk
-
½ cup (100g) granulated sugar
-
¼ cup (30g) cornstarch
-
Pinch of salt
-
4 large egg yolks
-
1 teaspoon vanilla bean paste or extract
-
2 tablespoons unsalted butter, softened
For the Whipped Cream:
-
2 cups (480ml) heavy whipping cream, very cold
-
¼ cup (30g) powdered sugar (or more to taste)
-
½ teaspoon vanilla extract
For Assembly:
-
Prepared brownies, cooled and cut into 1-inch cubes
-
Prepared salted caramel sauce, cooled but still pourable
-
Prepared vanilla pastry cream (or pudding), chilled
-
Prepared whipped cream, chilled
-
Optional Garnish: Chocolate shavings, extra brownie crumbs, a drizzle of caramel
Instructions:
1. Make the Fudge Brownies:
* Preheat oven to 350°F (175°C). Grease and flour a 9×13 inch baking pan, or line with parchment paper, leaving an overhang for easy removal.
* In a medium saucepan over low heat, melt the butter and unsweetened chocolate together, stirring until smooth. Remove from heat and let cool slightly.
* Whisk in the granulated sugar until combined.
* Beat in the eggs one at a time, then stir in the vanilla extract.
* In a separate bowl, whisk together the flour, baking powder, and salt.
* Gradually add the dry ingredients to the wet ingredients, mixing until just combined (do not overmix). Stir in chocolate chips if using.
* Pour batter into the prepared pan and spread evenly.
* Bake for 25-30 minutes, or until a toothpick inserted into the center comes out with moist crumbs attached (don’t overbake!).
* Let cool completely in the pan on a wire rack before cutting into 1-inch cubes.
2. Make the Salted Caramel Sauce:
* In a heavy-bottomed medium saucepan, combine the sugar and water. Stir gently just to moisten the sugar.
* Place over medium-high heat. Bring to a boil without stirring. Let it bubble, swirling the pan occasionally if needed for even color, until it turns a deep amber color (like an old penny). Watch carefully to prevent burning!
* Once amber, immediately remove from heat. Carefully whisk in the cubed butter until melted and combined (it will bubble vigorously).
* Slowly pour in the heavy cream while whisking continuously until smooth. Be cautious as it will steam and bubble.
* Stir in the sea salt.
* Let cool completely. It will thicken as it cools.
3. Make the Vanilla Pastry Cream (if using):
* In a medium saucepan, heat the milk over medium heat until it just begins to simmer (small bubbles around the edge).
* While milk is heating, whisk together the sugar, cornstarch, and salt in a medium bowl. Whisk in the egg yolks until smooth and pale yellow.
* Temper the eggs: Slowly pour about half of the hot milk into the egg yolk mixture while whisking constantly.
* Pour the tempered egg mixture back into the saucepan with the remaining milk.
* Cook over medium heat, whisking constantly and scraping the bottom, until the mixture thickens considerably and comes to a boil. Boil gently for 1 minute, still whisking.
* Remove from heat. Whisk in the softened butter and vanilla extract/paste until smooth.
* Pour the pastry cream through a fine-mesh sieve into a clean bowl (optional, but ensures smoothness). Press plastic wrap directly onto the surface to prevent a skin from forming.
* Chill completely, at least 2-3 hours.
4. Make the Whipped Cream:
* In a large bowl (preferably chilled), combine the cold heavy cream, powdered sugar, and vanilla extract.
* Using an electric mixer (stand or hand), beat on medium-high speed until stiff peaks form. Be careful not to overbeat into butter. Keep chilled until assembly.
5. Assemble the Trifle:
* Ensure all components (brownies, caramel, pastry cream/pudding, whipped cream) are completely cool or chilled.
* Layer 1 (Bottom): Place half of the brownie cubes in a single layer at the bottom of your trifle dish.
* Layer 2: Drizzle about one-third of the salted caramel sauce over the brownies.
* Layer 3: Spread half of the vanilla pastry cream (or pudding) evenly over the caramel and brownies.
* Layer 4: Spread about one-third of the whipped cream over the pastry cream.
* Layer 5: Repeat with the remaining brownie cubes.
* Layer 6: Drizzle another one-third of the salted caramel sauce over the brownies.
* Layer 7: Spread the remaining vanilla pastry cream (or pudding) evenly.
* Layer 8 (Top): Spread or pipe the remaining whipped cream over the top.
* Garnish: Drizzle the final third of the salted caramel sauce over the whipped cream. Add chocolate shavings or extra brownie crumbs if desired.
6. Chill:
* Cover the trifle loosely with plastic wrap (try not to touch the top layer).
* Refrigerate for at least 4 hours, or preferably overnight. This allows the flavors to meld and the layers to set beautifully.
Serving:
Serve chilled, scooping down through all the layers to get a taste of everything in each spoonful. Enjoy every decadent bite of your homemade salted caramel and chocolate brownie trifle
This dessert is a labor of love, but the payoff is immense. It’s the kind of treat that creates memories and makes any occasion feel extra special. Happy Baking!


